
概要
本稿では、高速で軽量なWEBサーバーとして人気のある Nginx を CentOS 7 にインストールする手順について解説します。 ここで解説する手順は、公式サイトに記述されている手順と同等です。
リポジトリの追加
Nginx では公式に yum のリポジトリを公開しており、その yum リポジトリからインストールするのが良いでしょう。 ここでは公式ページに記述がある通りに、yum リポジトリを追加します。 root 権限で新たにファイル /etc/yum.repos.d/nginx.repo を追加し、追加した nginx.repo には次のように記述します。
[nginx]
name=nginx repo
baseurl=http://nginx.org/packages/centos/7/$basearch/
gpgcheck=0
enabled=1
ファイル追加後の /etc/repos.d ディレクトリ内は次のように nginx.repo が作成されているはずです。
# ls -l /etc/yum.repos.d/
total 32
-rw-r--r--. 1 root root 1664 Aug 30 15:53 CentOS-Base.repo
-rw-r--r--. 1 root root 1309 Aug 30 15:53 CentOS-CR.repo
-rw-r--r--. 1 root root  649 Aug 30 15:53 CentOS-Debuginfo.repo
-rw-r--r--. 1 root root  314 Aug 30 15:53 CentOS-fasttrack.repo
-rw-r--r--. 1 root root  630 Aug 30 15:53 CentOS-Media.repo
-rw-r--r--. 1 root root 1331 Aug 30 15:53 CentOS-Sources.repo
-rw-r--r--. 1 root root 3830 Aug 30 15:53 CentOS-Vault.repo
-rw-r--r--. 1 root root  100 Dec 24 01:53 nginx.repo
Nginx のインストール
リポジトリ情報の追加ができたら、yum info コマンドで Nginx を検索してみましょう。 現在利用できる nginx の詳細情報が表示されます。
# yum info nginx
Available Packages
Name        : nginx
Arch        : x86_64
Epoch       : 1
Version     : 1.12.2
Release     : 1.el7_4.ngx
Size        : 716 k
Repo        : nginx/x86_64
Summary     : High performance web server
URL         : http://nginx.org/
License     : 2-clause BSD-like license
Description : nginx [engine x] is an HTTP and reverse proxy server, as well as
            : a mail proxy server.
リポジトリに Nginx があることの確認と、利用できる Nginx の情報が確認できましたので、インストールに進みます。 次のように yum install コマンドでインストールできます。
# yum install nginx
起動設定
Nginx のインストールが完了したら、コンピュータ起動時に自動的に Nginx が起動するように設定しましょう。 systemctl enable コマンドで設定します。
# systemctl enable nginx
Created symlink from /etc/systemd/system/multi-user.target.wants/nginx.service to /usr/lib/systemd/system/nginx.service.
これで次回のコンピュータ起動時には自動的に Nginx が起動するようになります。
起動と停止
それでは Nginx を起動してみましょう。 起動は systemctl start nignx コマンドで行います。
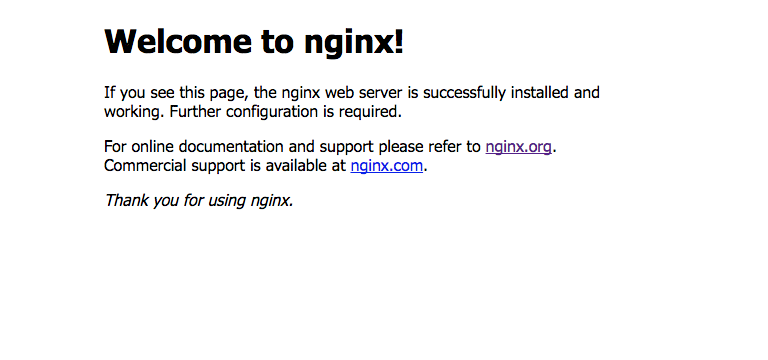
# systemctl start nginxNginx が起動できたら http://あなたのコンピュータのホスト名/ にアクセスしてみましょう。 次のような画面が表示されたでしょうか?
もしも CentOS 7 のファイアウォール機能が有効になっていてアクセスできない場合は、次のようなコマンドで80番ポートを解放することができます。
# firewall-cmd --add-service=http --zone=public --permanent
# firewall-cmd --reload
なお、停止は systemctl stop nignx コマンドで行います。
# systemctl stop nginx各種パス
以上でインストールは完了です。 最後に設定ファイルや公開ディレクトリなどのパスを確認しておきましょう。
| パス | 説明 |
|---|---|
| /etc/nginx/ | Nginx の設定ファイルが保存されているディレクトリ |
| /etc/nginx/nginx.conf | メインとなる設定ファイル |
| /var/log/nignx/ | Nginx のログが保存されるディレクトリ |
| /usr/share/nginx/html/ | WEBサイトの公開ディレクトリ |
次のステップ
本稿では、高速で軽量なWEBサーバーとして人気のある Nginx を CentOS 7 にインストールする手順について解説しました。 インストールの次のステップとしては、次の記事を参考にセキュリティ設定を行ってはいかがでしょうか?